Time Timer® Android App
Pour obtenir de l'aide sur l'application Android Time Timer®
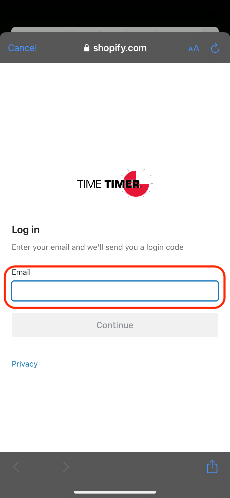
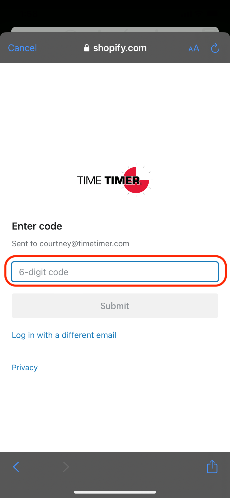
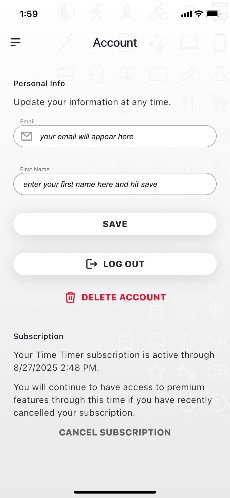
Comment faire : Se connecter / Créer un compte Time Timer

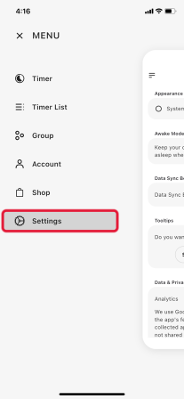
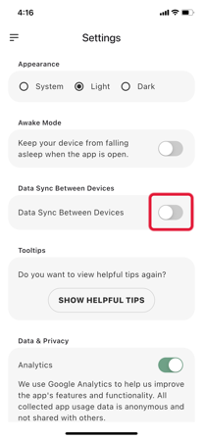
Comment faire : Synchronisation entre appareils
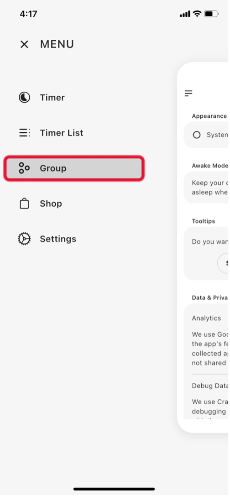
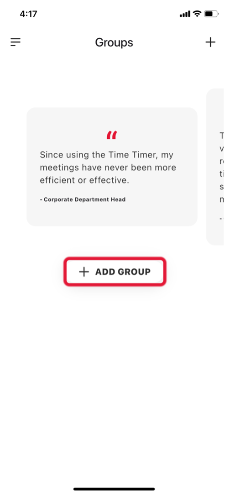
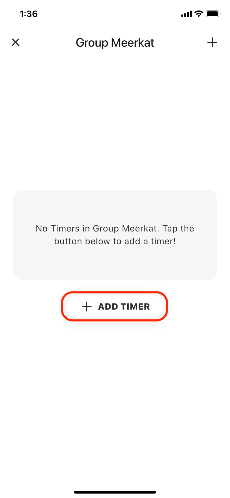
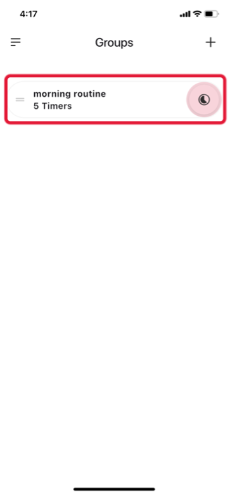
Comment faire : Groupes


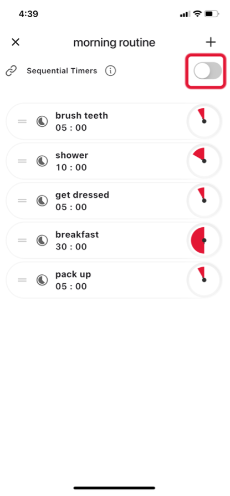
Mode d'emploi : minuteries séquentielles
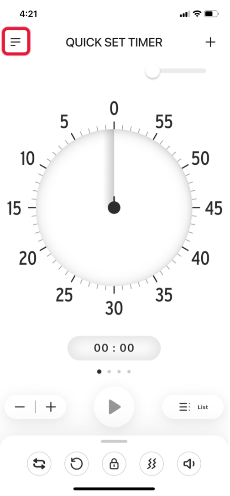
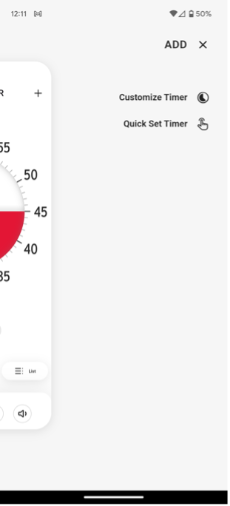
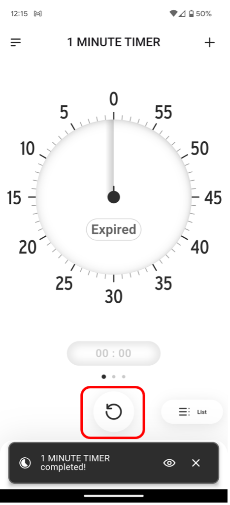
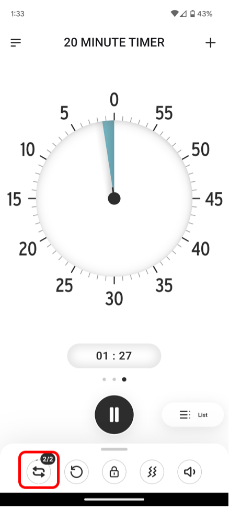
Comment créer un minuteur.
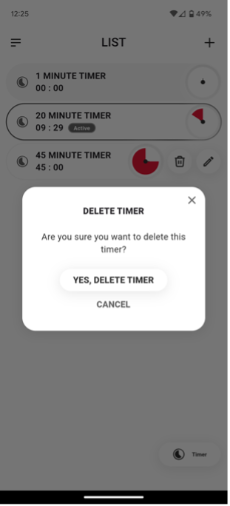
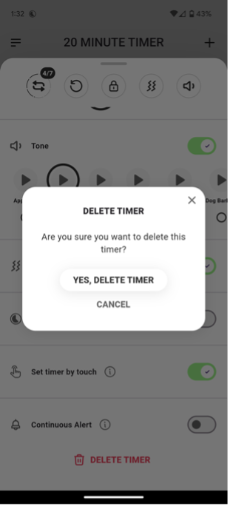
Comment supprimer un minuteur.
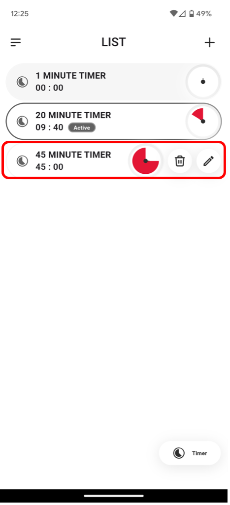
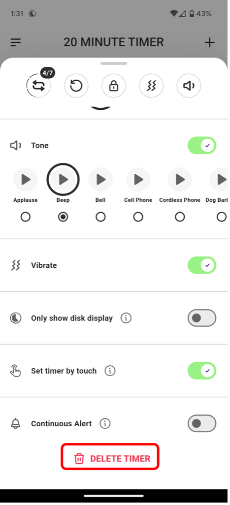
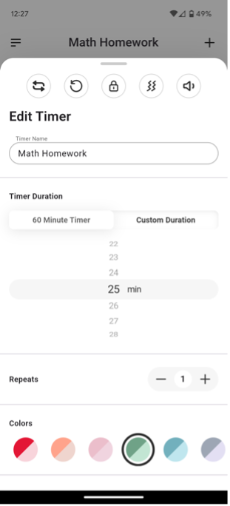
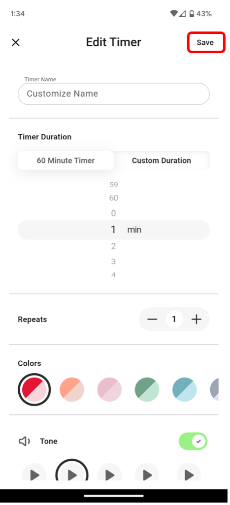
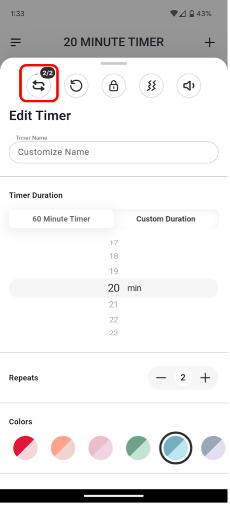
Comment modifier un minuteur.
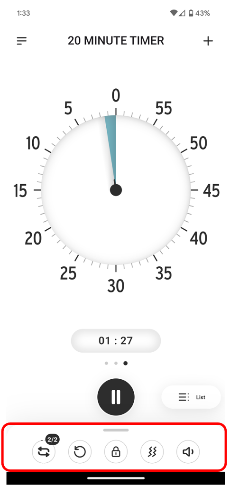
Comment régler une minuterie répétitive.
La mise à jour de l'application Time Timer fonctionnera-t-elle sur mon téléphone ?
Démarrage rapide de la mise à jour de l'application
L'application Time Timer ne fonctionne pas sur mon Chromebook. Que faire ?
Vais-je perdre mes minuteries enregistrées lorsque je mettrai à jour vers la dernière version de l'application ?
Puis-je installer une ancienne version de l'application ?
J'ai acheté un nouvel appareil ou j'ai supprimé l'application par erreur. Dois-je la racheter ?
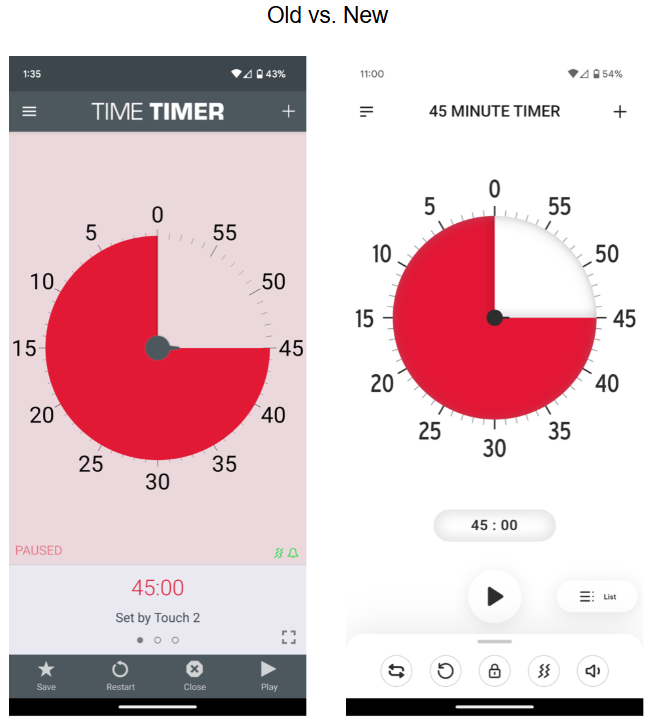
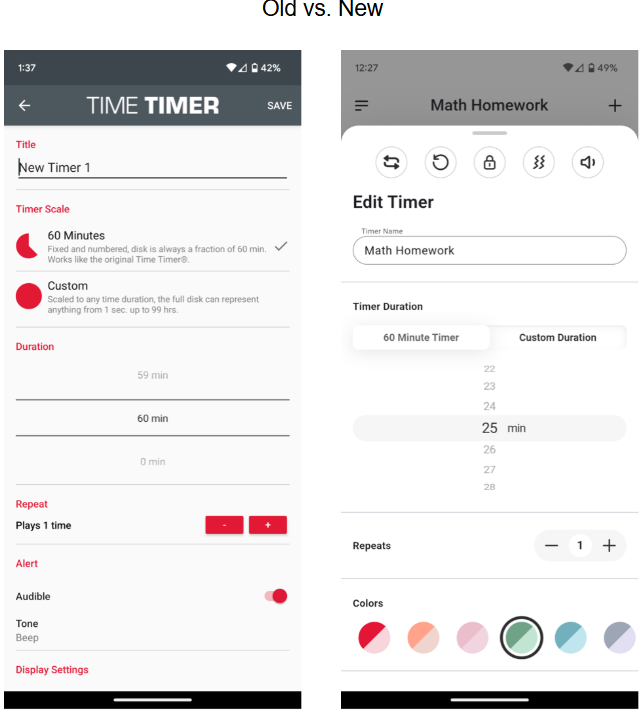
Quelle est la différence entre une minuterie à réglage rapide et une minuterie personnalisée ?
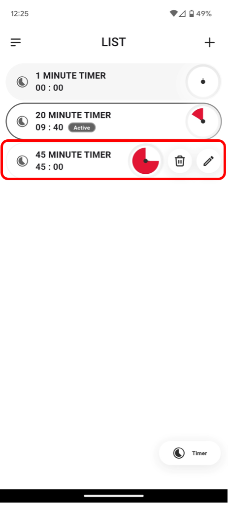
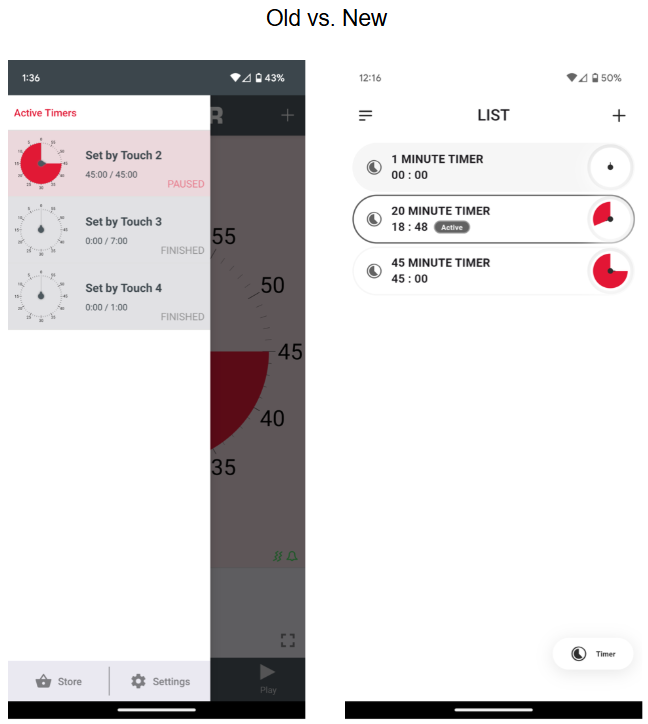
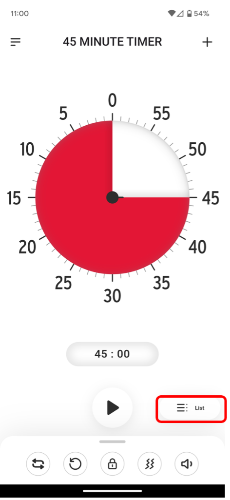
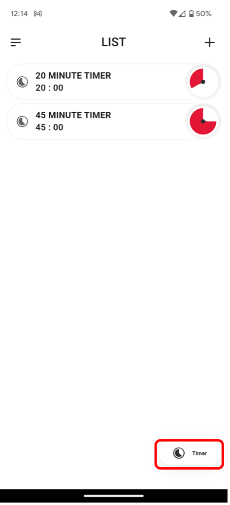
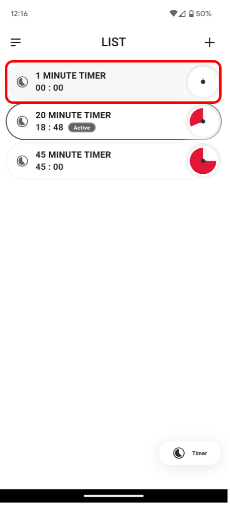
Qu'est-ce que l'écran « Vue Liste » ?
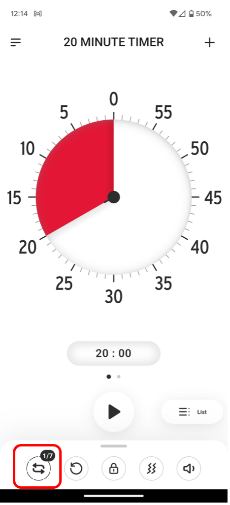
Que signifie « Répétitions » ?
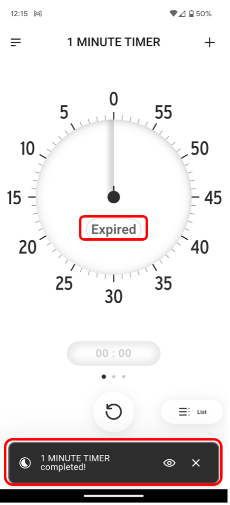
J'utilise plusieurs minuteurs simultanément. Comment savoir quand l'un d'eux est terminé ?
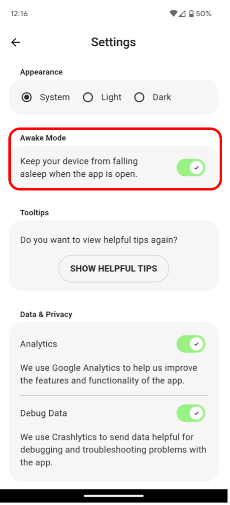
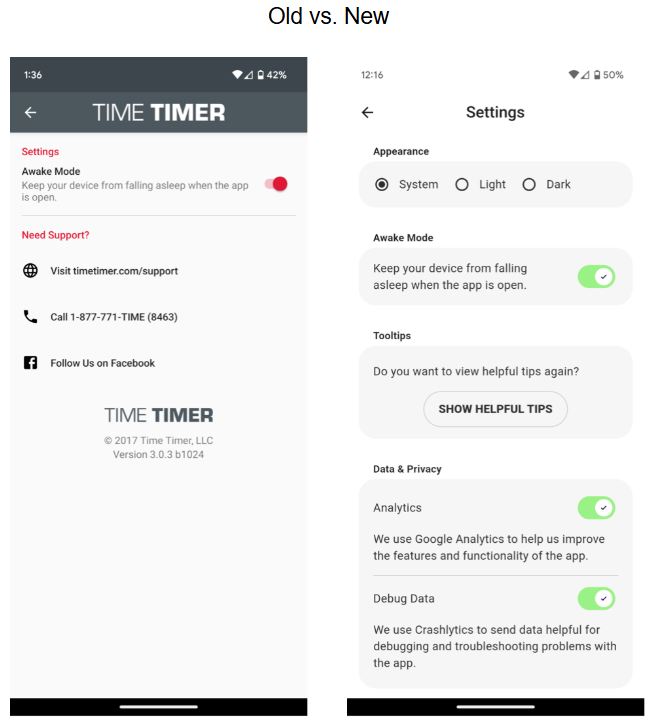
Comment puis-je empêcher mon appareil de s'endormir pendant que les minuteries fonctionnent ?