Time Timer® Android App
For help with the Time Timer® Android App
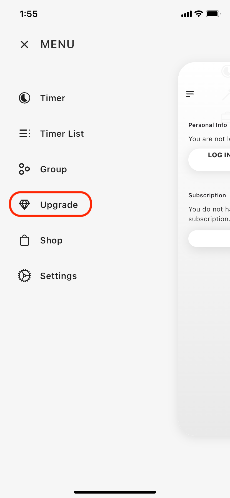
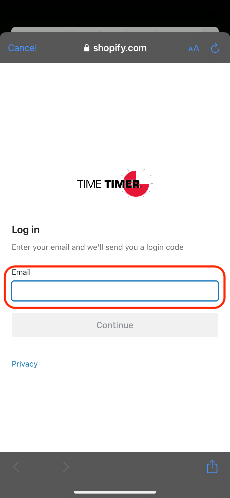
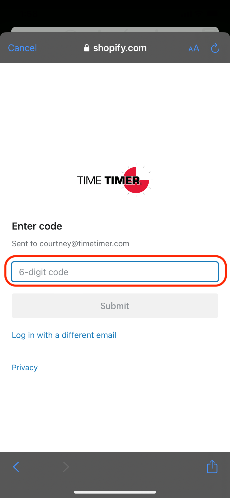
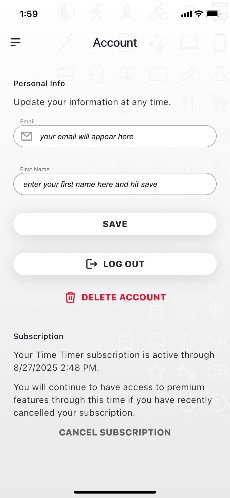
How To: Log-in to / Create a Time Timer Account

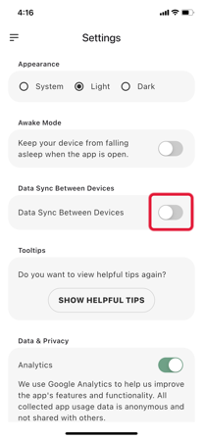
How To: Syncing Between Devices
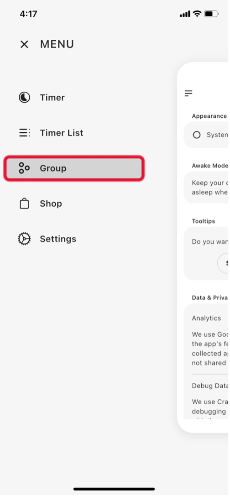
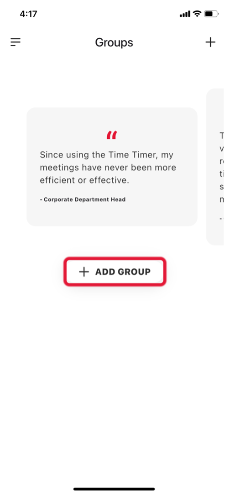
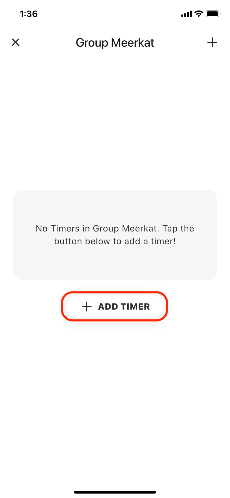
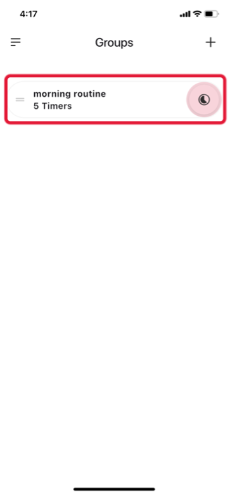
How To: Groups


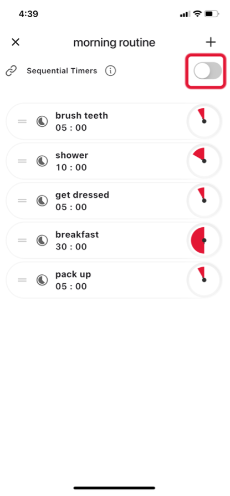
How To: Sequential Timers
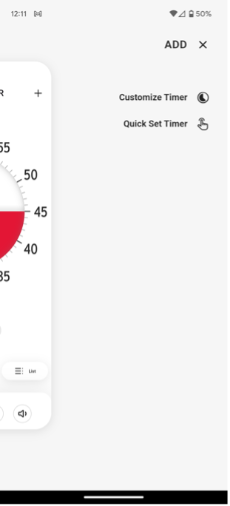
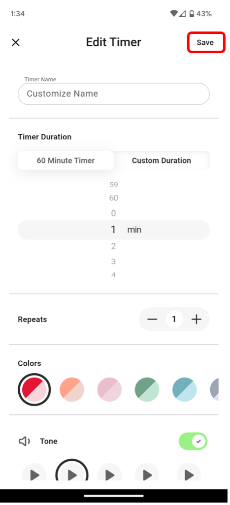
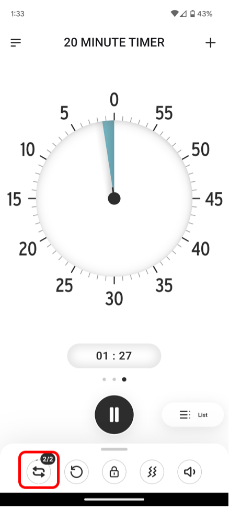
How to create a Timer.
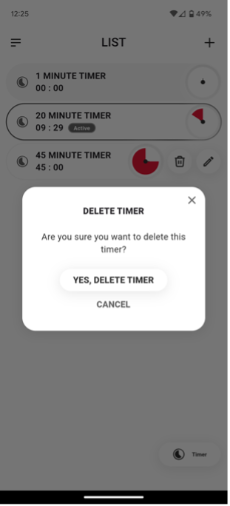
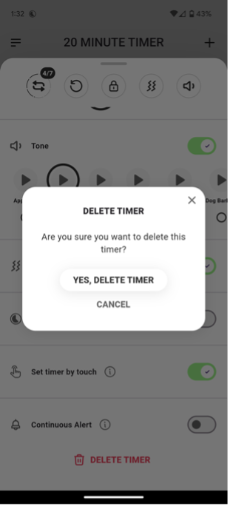
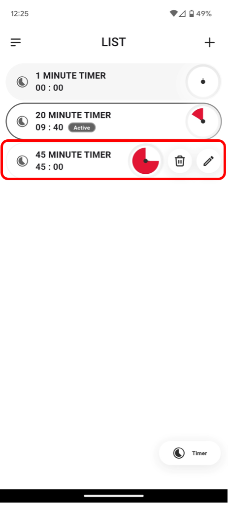
How to delete a Timer.
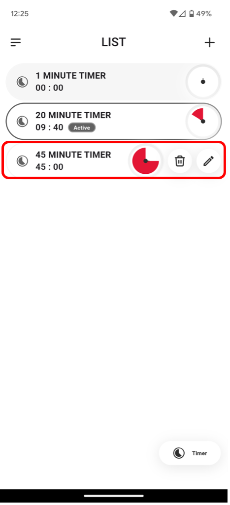
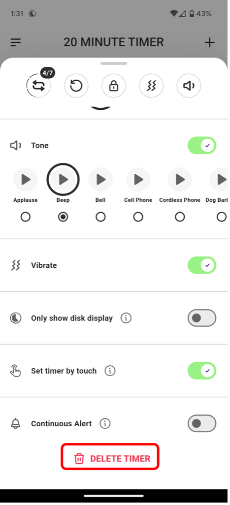
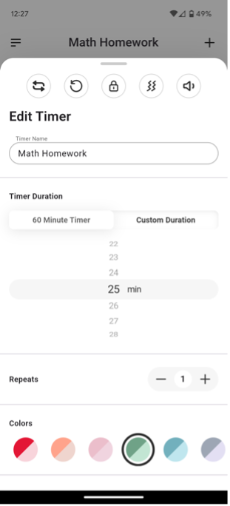
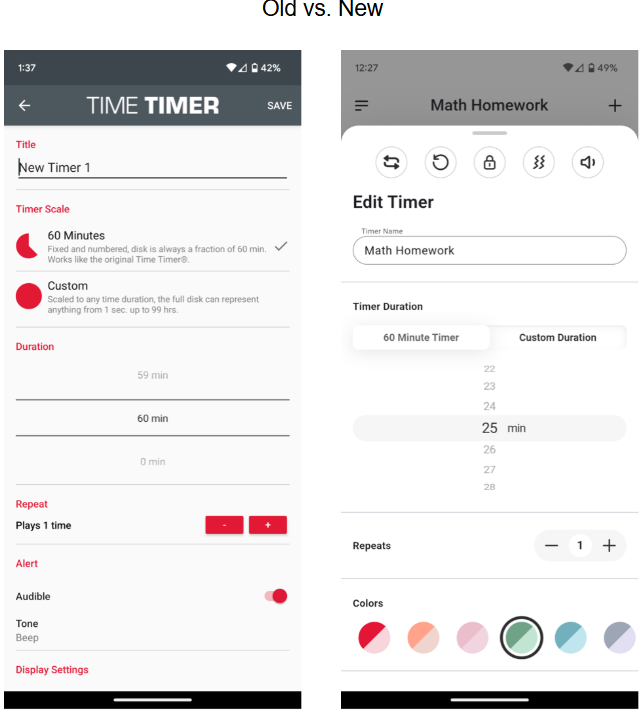
How to edit a Timer.
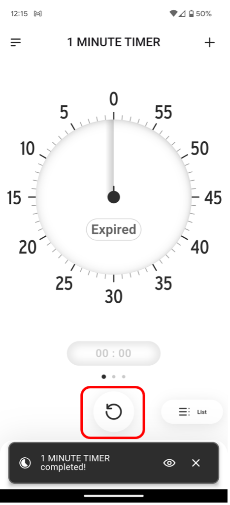
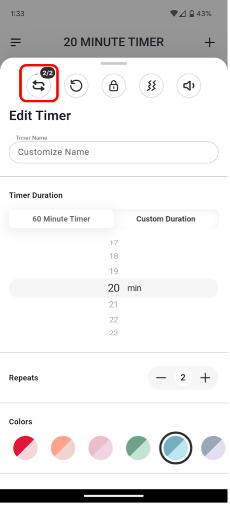
How to set a repeating Timer.
Will the Time Timer App Update work on my phone?
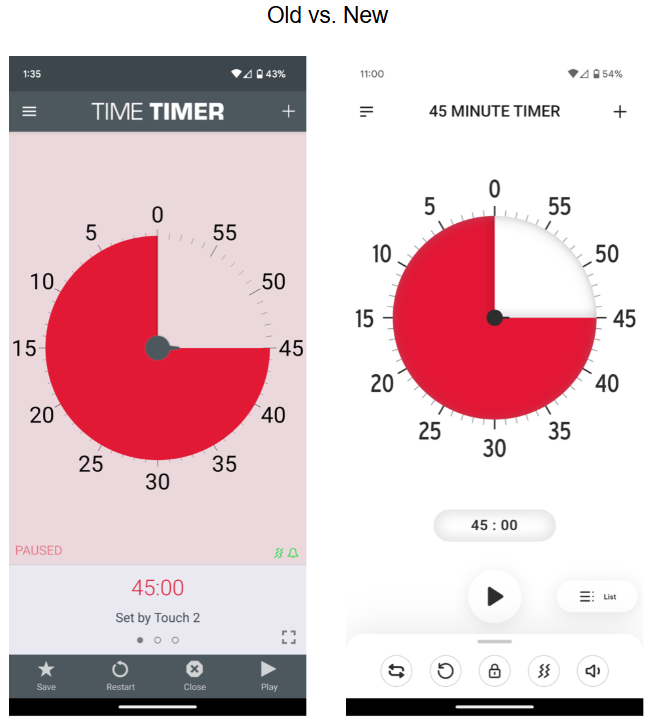
Quick Start to the App Update
The Time Timer App is not working on my Chromebook. What should I do?
Will I lose my saved Timers when I update to the latest version of the app?
Can I install an older version of the app?
I purchased a new device or accidentally deleted the App. Do I have to buy the app again?
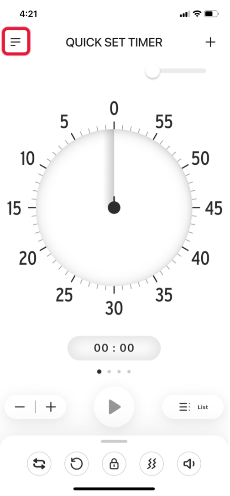
What is the difference between a Quick Set Timer and Custom Timer?
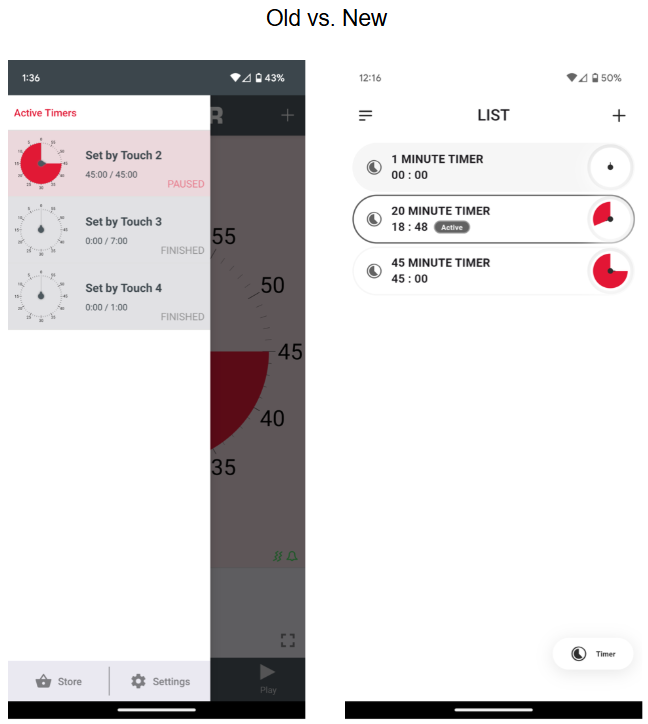
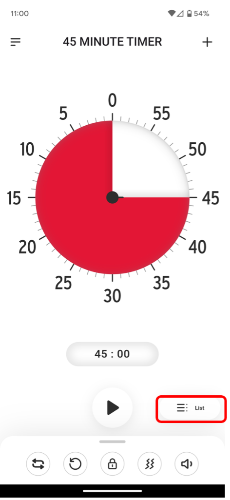
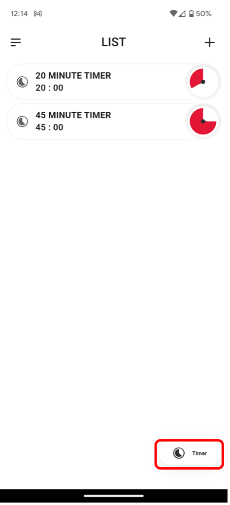
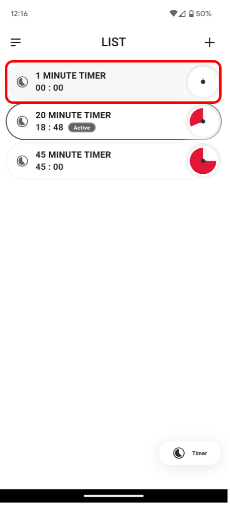
What is the “List View” screen?
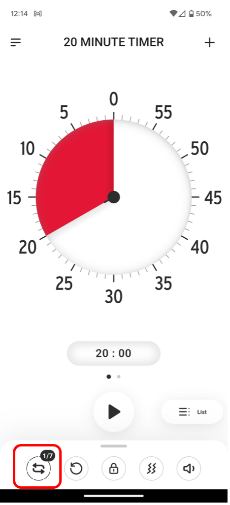
What does "Repeats" mean?
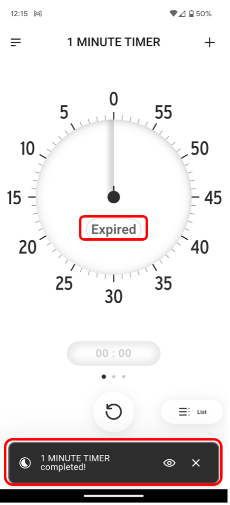
I am running several Timers at once. How do I tell when one has ended?
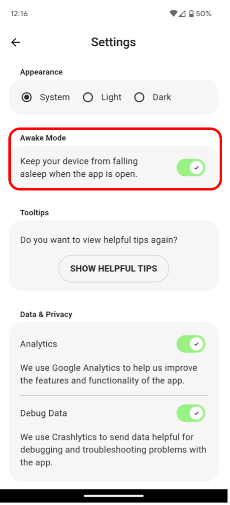
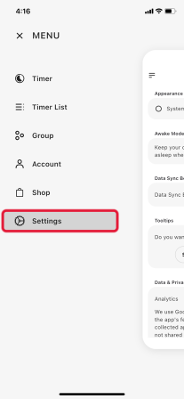
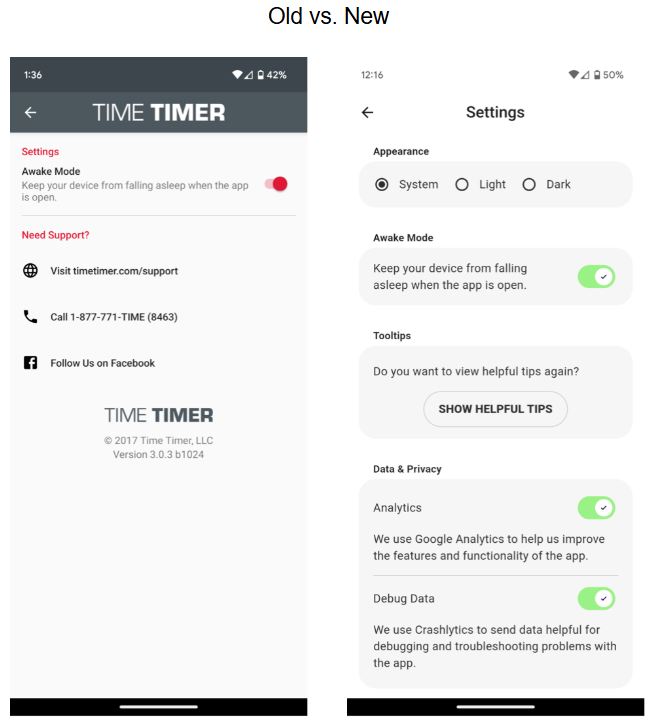
How do I prevent my device from falling asleep while Timers are running?