Download PDF copy of MAX User Guide below.
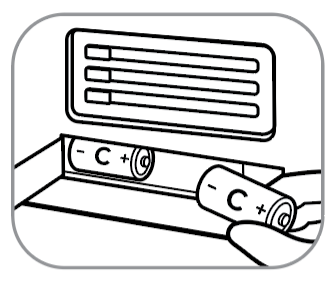
1. Install 2 C Batteries
The battery compartment is located on the back of the Time Timer® MAX. Simply lift battery cover open from right side to insert batteries into compartment. Close battery compartment by pressing closed until you hear a “click”.

2. Choose Face and Time Duration
Insert your finger through the hole on the back of MAX and push out all three two-sided timer faces. Place the selected timer face (or dry erase face) on the top and then snap them back in place, one face at a time. Turn the time duration dial on the back of the MAX to match the total length of time represented on the selected timer face or written on dry erase face.
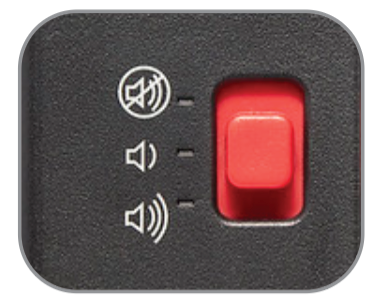
3. Choose Your Sound Preference
Using the red switch on the back of the MAX, choose your desired volume setting: no alert, low, or high
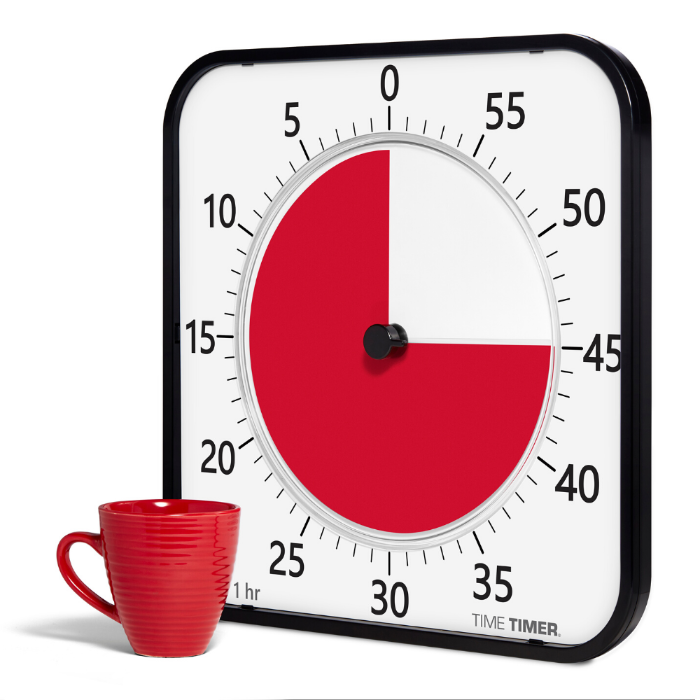
4. Set Your Timer
Use the center knob to turn the red disk counter-clockwise until you reach your chosen
amount of time. Immediately, your new timer will begin to countdown, and a quick glance will reveal the time left thanks to the brightly colored disk and large, easy-to-read numbers.
Create time blocks on any face by snapping set markers in the grooves between the red disk and numbers.
HOW TO DISPLAY
There are 4 display options for the Time Timer® MAX:
• With its built in kickstand
• Flip the kickstand to hang from a whiteboard hook or map rail
• Use the included bracket wall mount
• Hang from a screw in the wall
Download CR24204_TT_UserGuides_052924_MAX.pdf