Time Timer® Original Medium and Large

For help with the Time Timer® Original Medium and Large

Operation & How-To

Time Timer® Original Medium and Large User Guide
How to install the AA battery.
How to use the Time Timer Visual Schedule Kit.

Troubleshooting

The red disk is out of place.
The magnet is not strong enough
The clear plastic button used to set the Timer came off.
The red disk stopped moving

Time Timer® Original Medium and Large User Guide

Download the Time Timer®Original Medium and Large User Guide below.

1. Install 2 AA Batteries

The battery compartment is located on the back of the Time Timer® Original Medium and Large. Simply pull battery cover down to insert 2 AA batteries into compartment. Close battery compartment by pressing closed until you hear a “click”.

2. Choose Your Sound Preference

The timer itself is quiet—no distracting ticking sound—but you can choose whether or not to have an alert sound when time is complete. Simply use the red on/off switch on the back of the timer to control audio alerts.

3. Set Your Timer

Use the center knob to turn the red disk counter-clockwise until you reach your chosen amount of time. Immediately, your new timer will begin to countdown, and a quick glance will reveal the time left thanks to the brightly colored disk and large, easy-to-read numbers.

The Dry Erase Activity Card, included in all new 2021 and beyond models of the Time Timer®Original line-up, can be placed into the slot on the top of the timer for time-to-task management or visual schedules.

How to install the AA battery.

Time Timer Original Medium and Large 

To install the AA battery in your Time Timer Original Medium and Large: 

  1. Open the battery compartment on the back of your Timer.
  2. Find the ribbon inside the battery compartment and pull it over the words “Made in China.”
  3. Insert the AA battery with the positive (nub) end first into the compartment OVER the ribbon.
  4. Place the cover back on the battery compartment. The ribbon should stick out.
  5. When you’re ready to replace the battery later, simply open the battery compartment and tug on the ribbon to easily pull the battery loose.

To install the AA batteries in your Time Timer Original Medium and Large Update: 

*The update requires 2 AA batteries and includes a shallower battery compartment for easier battery replacement. 

  1. Open the battery compartment on the back of your Timer.
  2. Insert the AA batteries with the positive (nub) end first into the compartment.
  3. Place the cover back on the battery compartment. 
  • Non-rechargeable batteries are not to be recharged.
  • Do not force discharge, recharge, disassemble, heat above 100ºC/212ºF or incinerate. Doing so may result in injury due to venting, leakage or explosion resulting in chemical burns.
  • Ensure the batteries are installed correctly according to polarity (+ and -).
  • Remove and immediately recycle or dispose of batteries from equipment not used for an extended period of time according to local regulations.
  • Different types of batteries or new and used batteries are not to be mixed.

How to use the Time Timer Visual Schedule Kit.

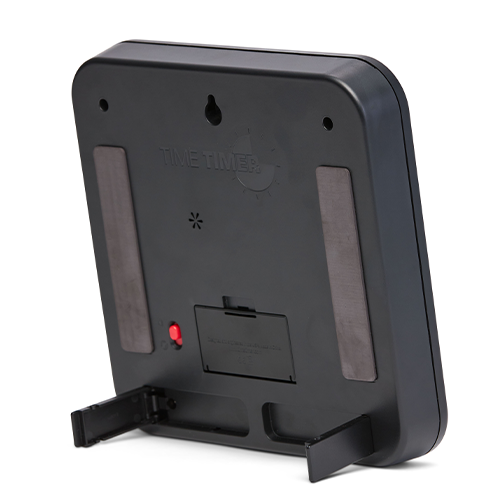
NOTE: The Visual Schedule Kit is only compatible with the Time Timer Original Medium or Large with the thick black frame. The Visual Schedule kit is not compatible with the updated or Educators Edition of the Time Timer Original. View the video below to see if the Visual Schedule Kit is compatible with your model of the Time Timer Original. 


The Visual Schedule Kit for Time Timer® Medium or Large is a great way to create a visual schedule for anyone to follow. It is ideal for younger children or any person who benefits from the ability to view pictures of activities instead of numbers.

Follow the video and written instructions below to install the Visual Schedule Kit's blank face on the Time Timer Medium or Large.

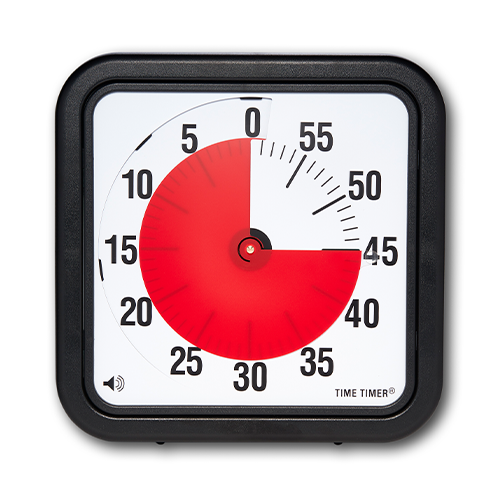
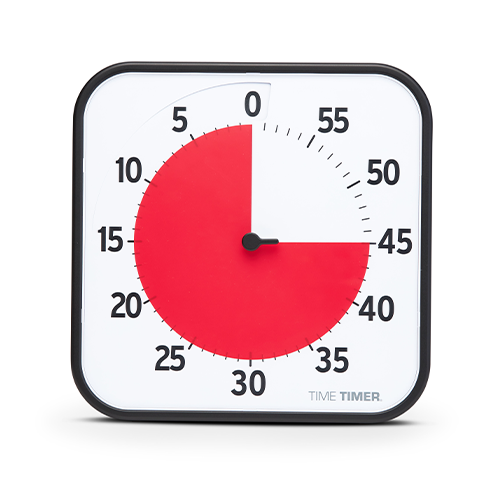
  1. Rotate the disk to the "15" position.
  2. Using both hands, gently pull the right-hand side of the inside frame that covered the Timer face, releasing the tabs, and remove.
  3. Lift the numbered face from the Timer and remove.
  4. Lay the blank face onto the Timer by sliding the top of the cutout semi-circle under the red disk. Make sure that the semi-circle fits under the tabs at the approximate locations for "0", "10" and "15".
  5. Reinsert the tabs on the inside frame cover into the right-hand side of the Timer, and gently snap the inside frame back into place.

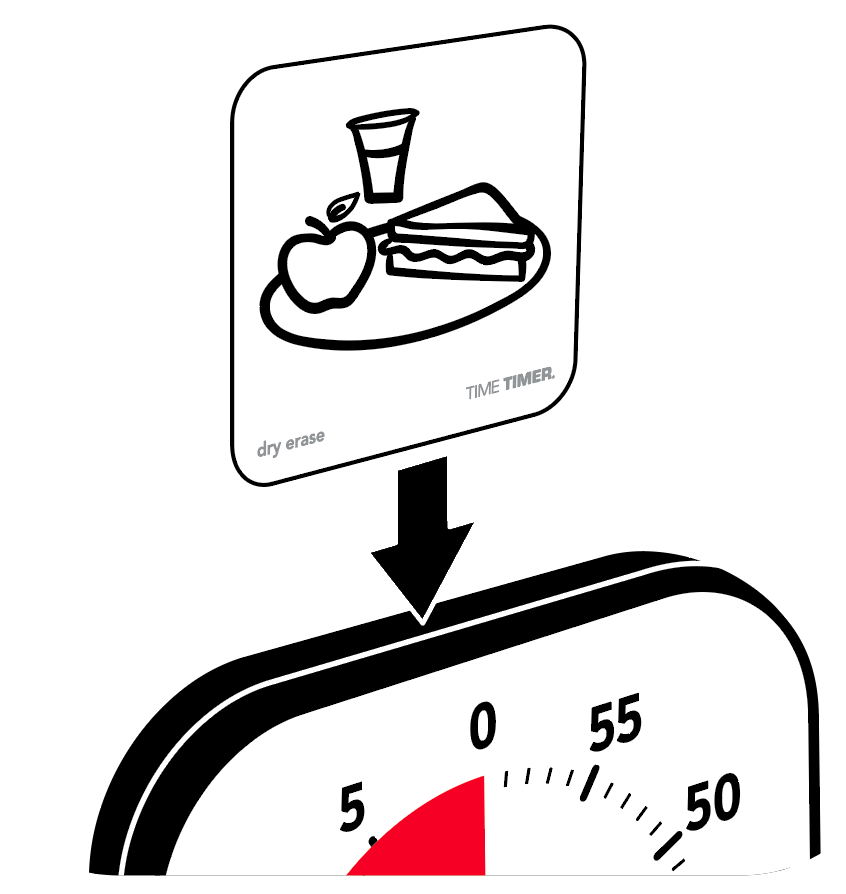
After the blank face has been installed, place your chosen activity stickers at the appropriate location on the blank face. Use washable markers (or permanent for a regularly repeating routine) to write or draw on the blank face to create a completely custom schedule, too!

The red disk is out of place.

Sometimes the red disk on your Original Time Timer Medium or Large can come out of its place. If this occurs, determine which model of the Time Timer Original you have based on the images and follow the steps below: 

Time Timer Original Medium and Large:

Watch the video below for a tutorial. Gently press down on the edge of the disk while moving it backwards. This will reinsert the disk under the edge of the face.

If you're still having issues with your timer, please contact us at support@timetimer-europe.com

Time Timer Original Medium and Large Update:

Check the lens. The Time Timer only works well if the clear lens on the front of the timer is snapped down. If the lens has popped up, the red disk will have issues moving. Please check your clear lens and securely press down the four corners to make sure it is completely snapped down.

If you're still having issues with your timer, please contact us at support@timetimer-europe.com

Time Timer Original Medium and Large video tutorial:

The magnet is not strong enough

You will most likely be able to fix this issue yourself, by tightening the screws on the back of the magnets. These may have loosened and we apologize for the inconvenience. 

If you're still having issues with your timer, please contact us at support@timetimer-europe.com

The clear plastic button used to set the Timer came off.

No worries! This is easy to fix. Take the clear plastic button (or another very lightweight button) and superglue it in its proper place.

Ensure that no superglue gets on the red disk or the timer face, as this could disrupt the timer’s movement.

If you're still having issues with your timer, please contact us at support@timetimer-europe.com

The red disk stopped moving

If the red disk on your Original Time Timer (including Pocket, Medium and Large) stops moving, please try the following:

  1. First, make sure you timer has a fresh battery if you have not replaced it recently. Install a new AA battery with the positive end (the nub) inserted first.
  2. Next, rotate the red disk counter-clockwise from 0 to 60 and keep rotating it around. This will clear any dust or debris that might have become trapped under the disk.
  3. Ensure the white face is under the 3 placement holders (located in top left section of the inside face) to prevent buckles from stopping the disk.
  4. Now, rotate the disk counterclockwise. Lift the clear plastic button over the 0/60 point and keep rotating counterclockwise until the disk is all the way back to 0.

The video below illustrates Point 2 and 3 in action.

If you're still having issues with your timer, please contat us at support@timetimer-europe.com