Time Timer® Original Pocket
For help with the Time Timer® Original Pocket
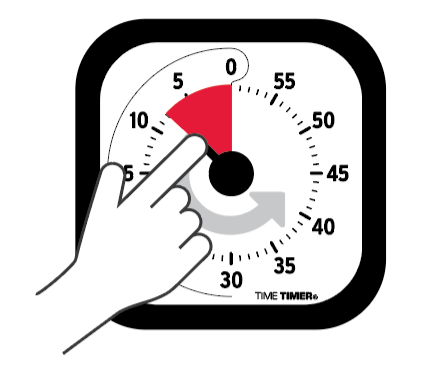
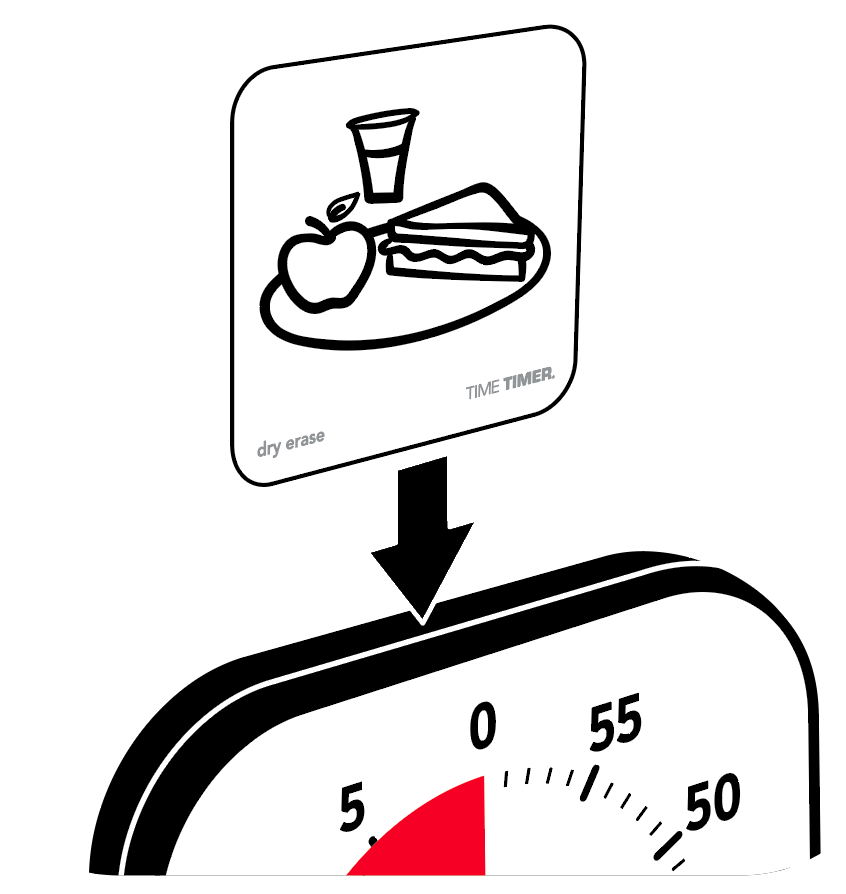
Time Timer® Original Pocket User Guide
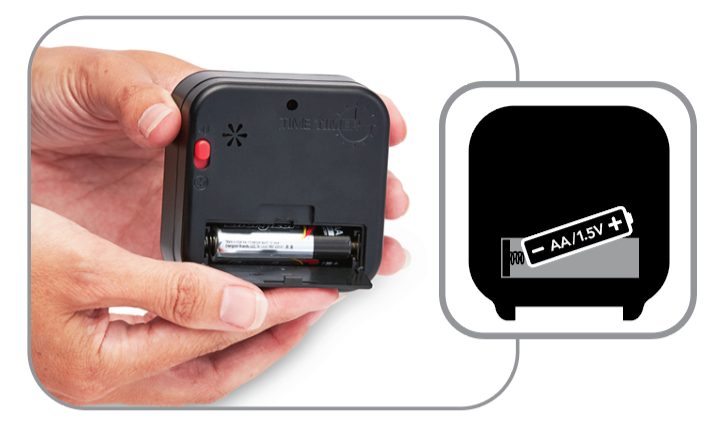
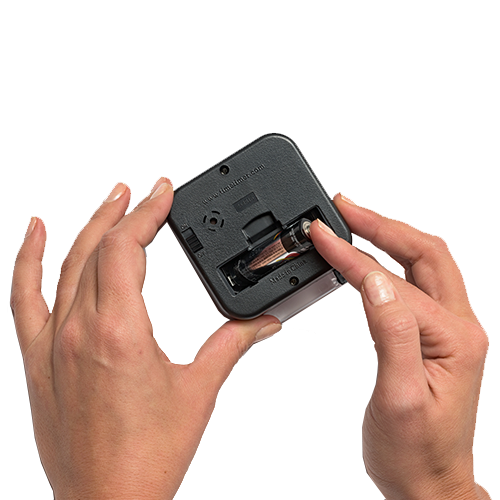
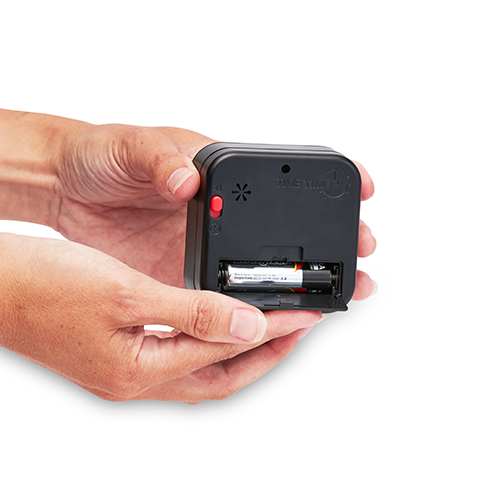
How to install the AA battery