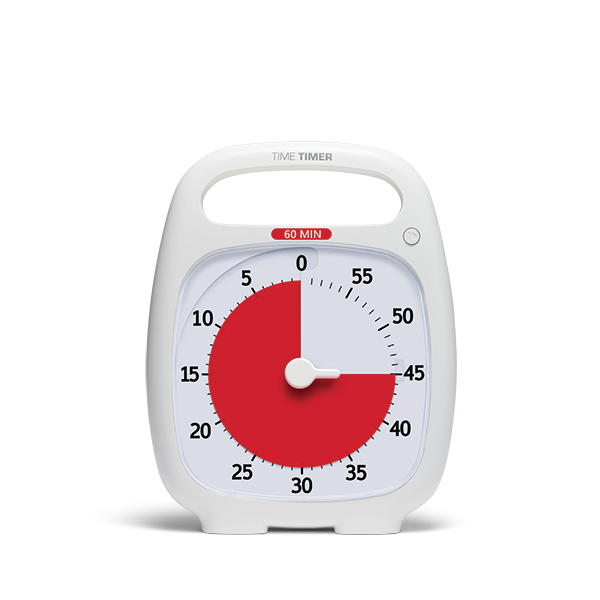
Time Timer PLUS®
For help with the Time Timer PLUS® 5 Minute, 20 Minute, 60 Minute and 120 Minute.
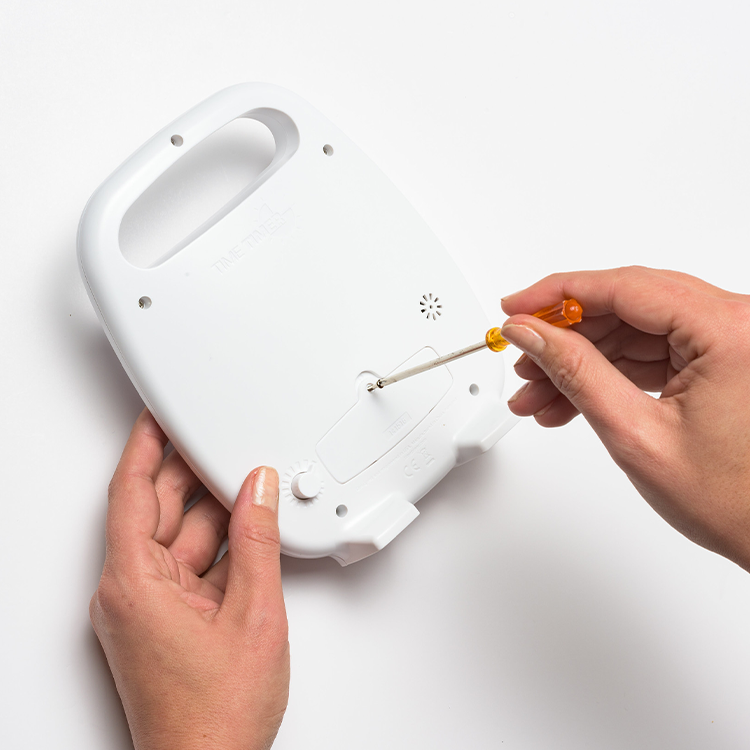
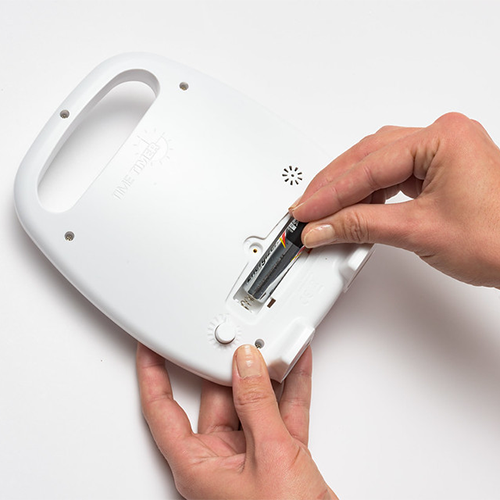
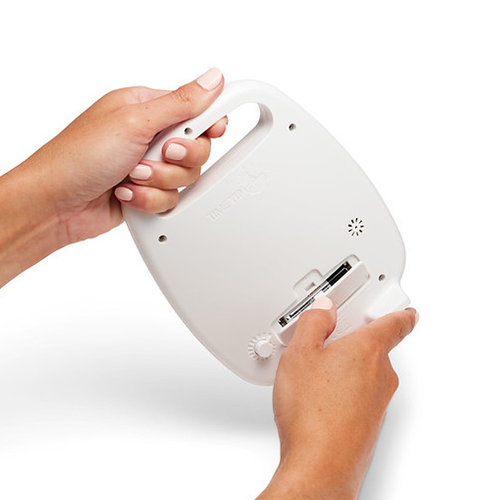
How to replace the batteries

Time Timer PLUS User Guide
The Time Timer seems like it can only be set to 59 minutes.
Time Timer MOD - Cases
Time Timer MOD - Dry Erase Board
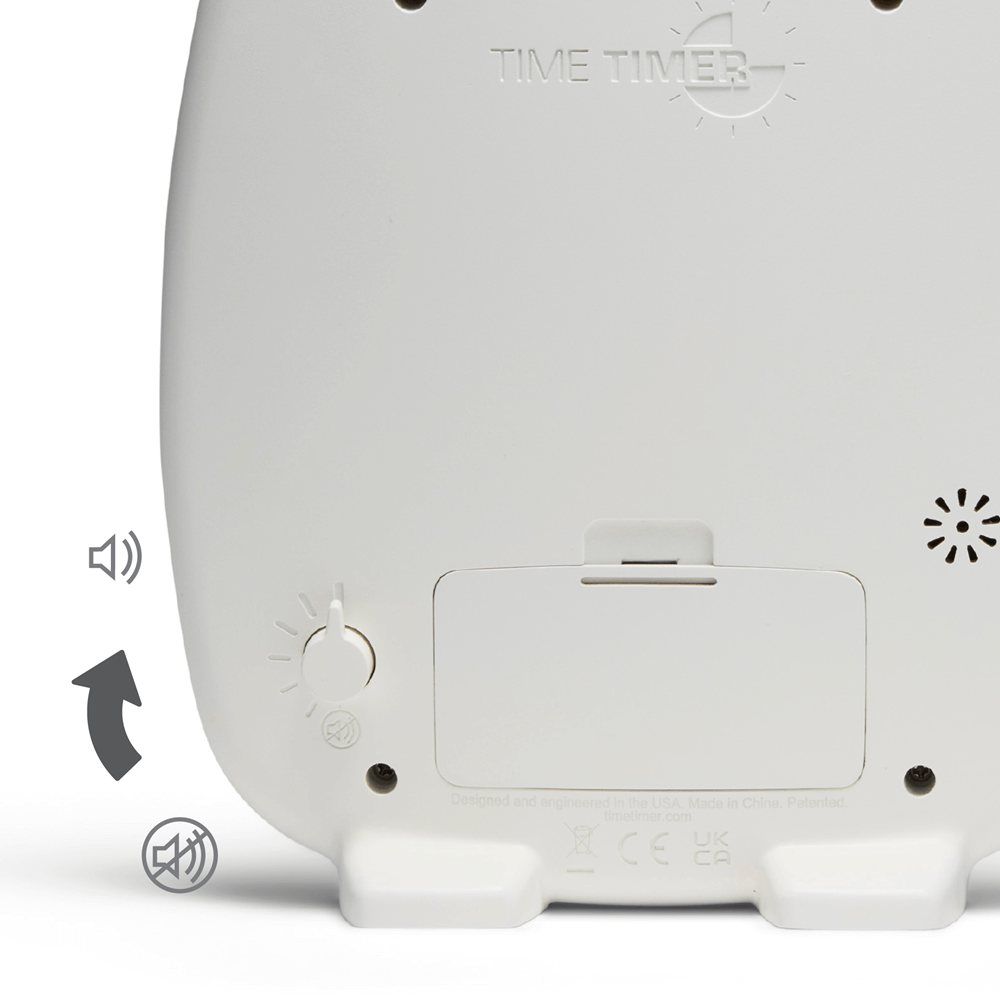
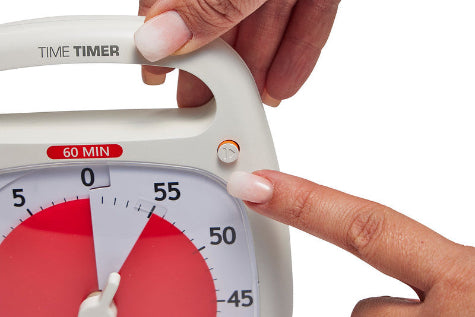
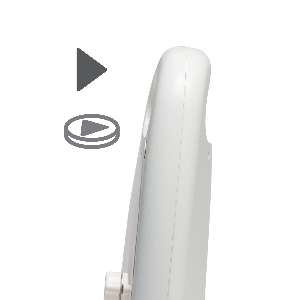
How to work the Play/Pause button?
How do I know my timer is paused?
How does the pause feature affect my timer's battery life?
The disk stopped moving.
The center knob on my Time Timer PLUS is broken or has come off of the timer.
The lens cover came off.