Time Timer® Visual Scheduler
For help with the Time Timer® Visual Scheduler
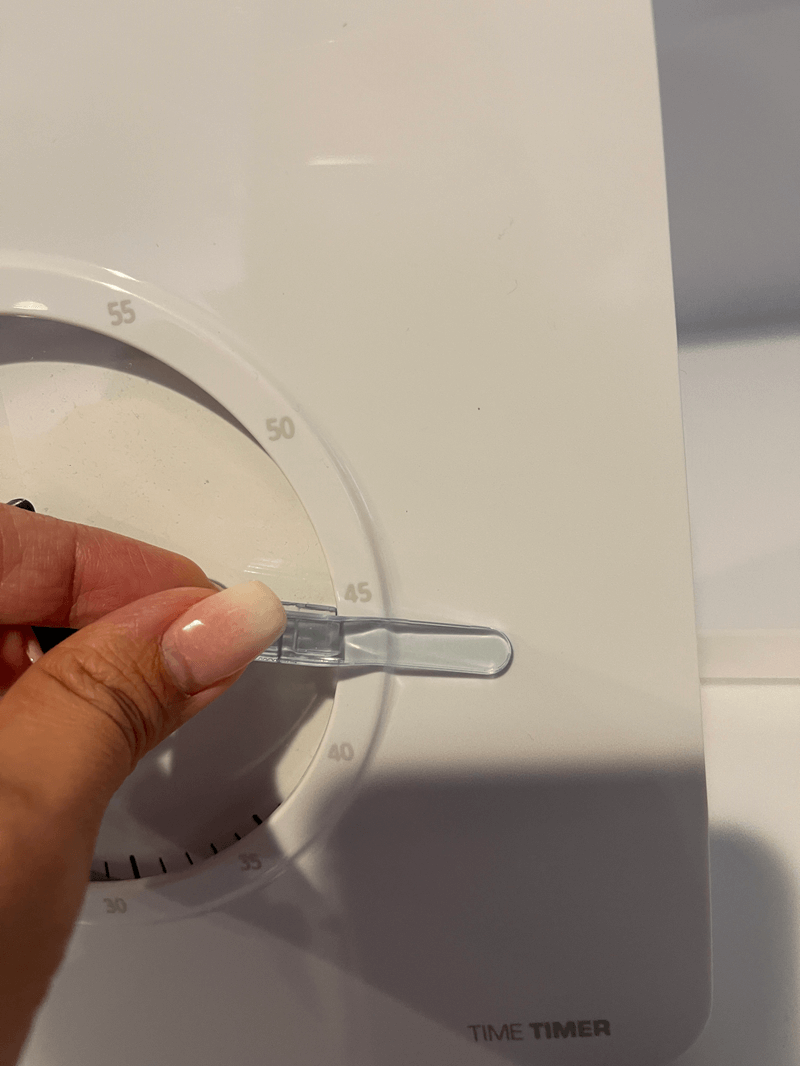
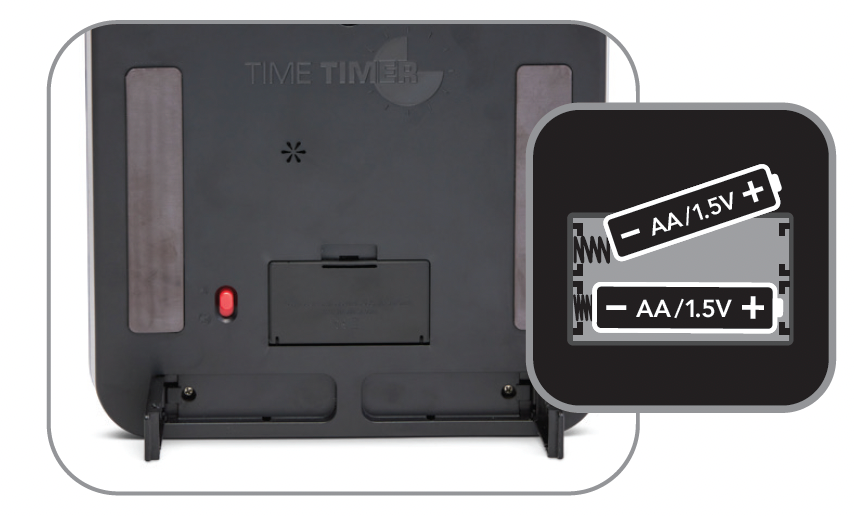
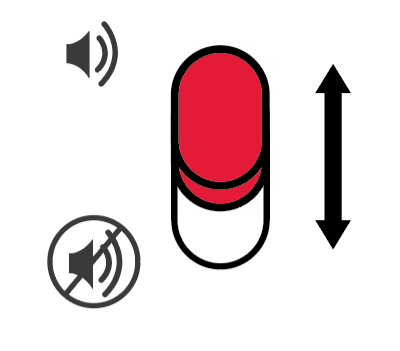
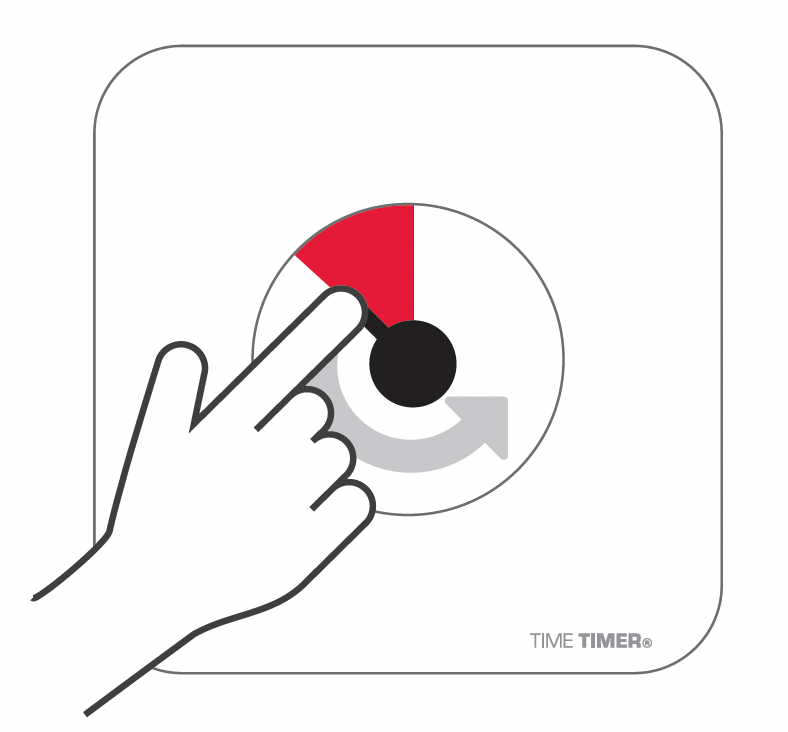
Time Timer® Visual Scheduler User Guide
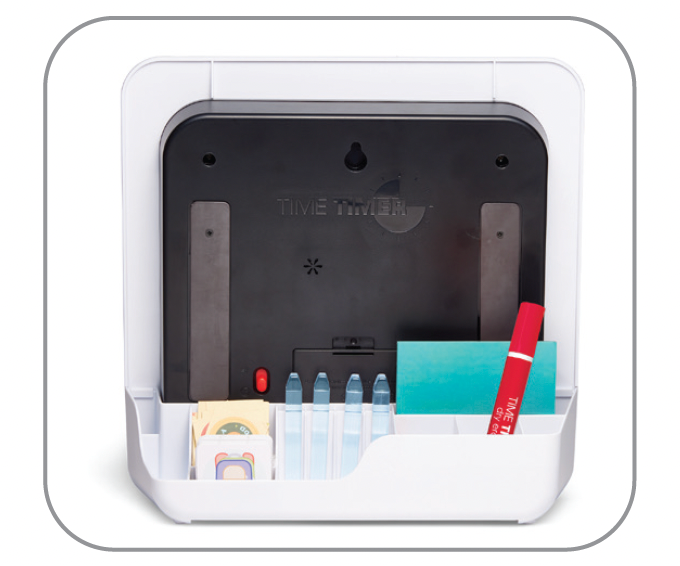
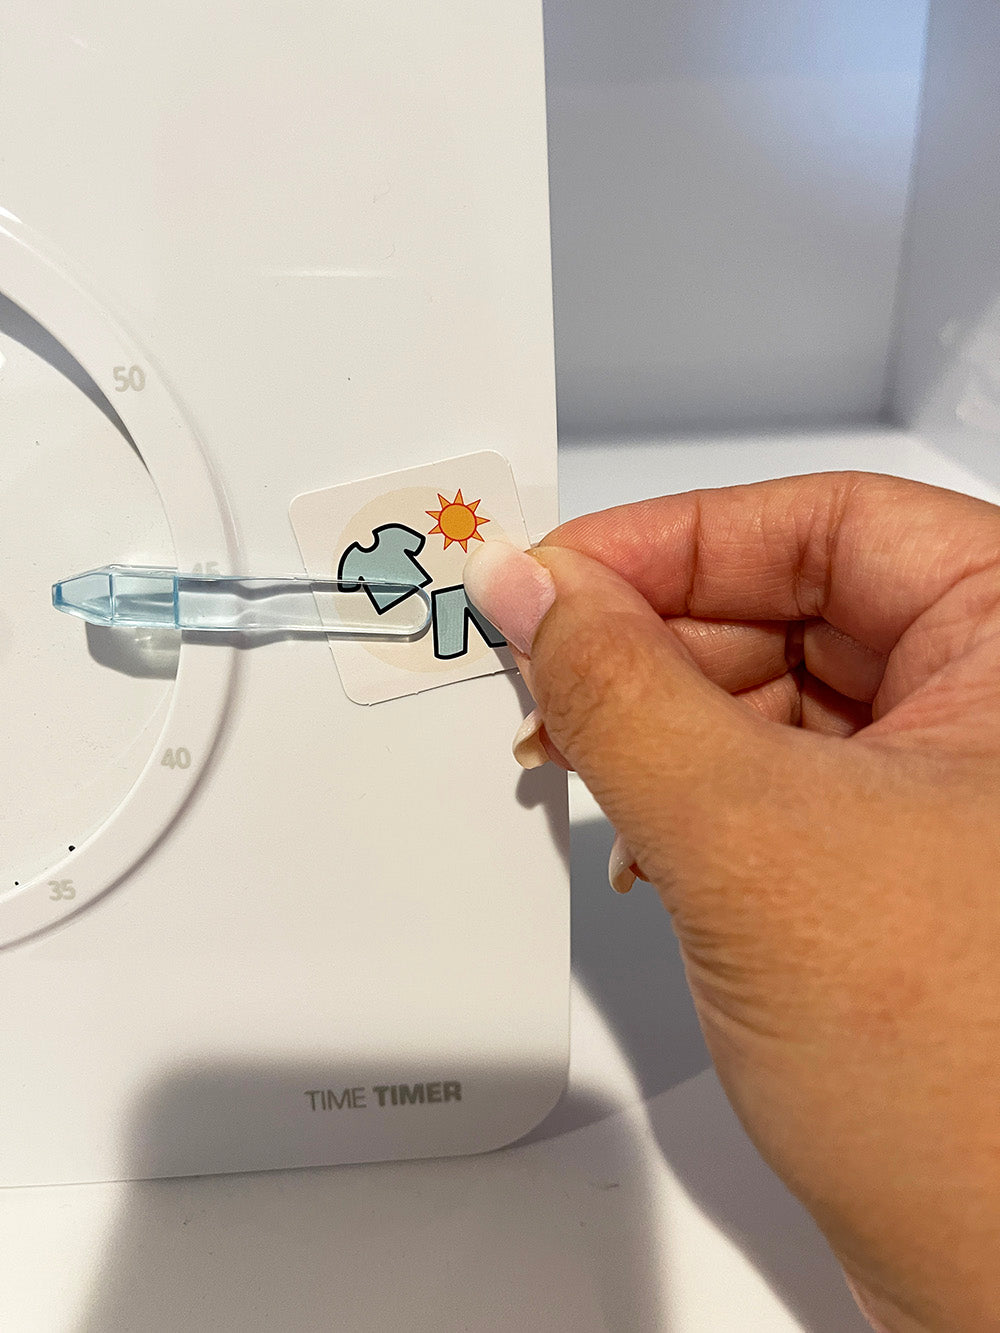
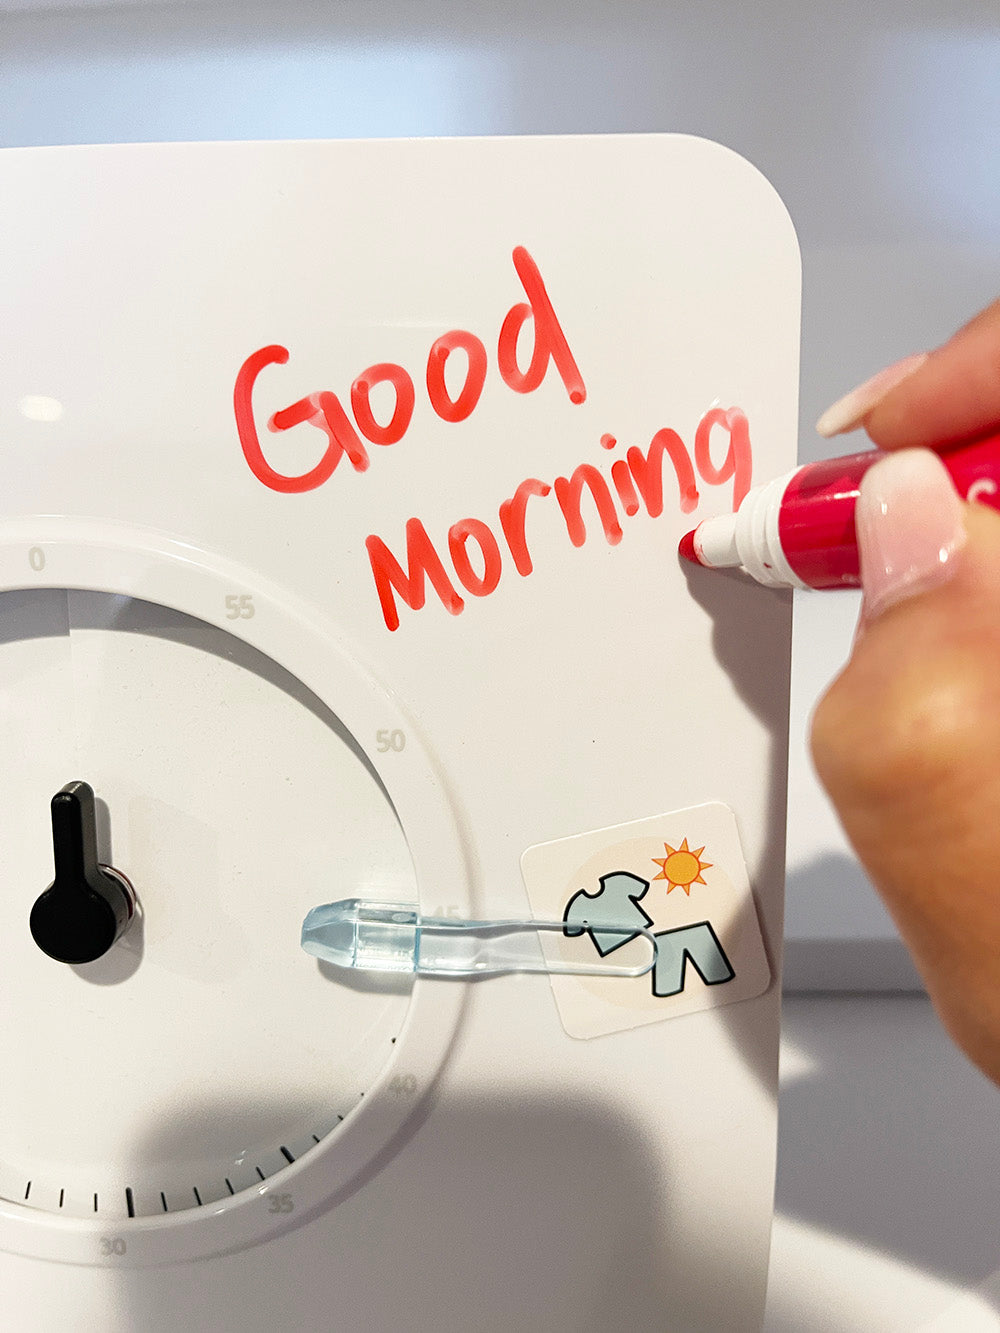
My clips aren't holding my activity cards