Time Timer® BRAILLE

For help with the Timer Timer® BRAILLE

Operation & How-To

Time Timer® BRAILLE User Guide

Troubleshooting

The Disk Is Out Of Place
The Disk Stopped Moving

Time Timer® BRAILLE User Guide

Download the Time Timer®BRAILLE User Guide Below

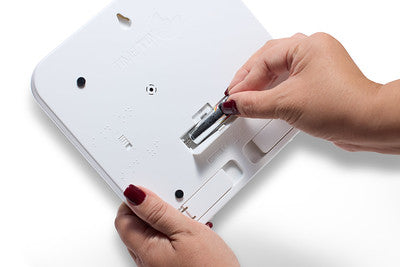
INSTALL 1 AA BATTERY

The battery compartment is located on
the back of the Time Timer® Braille timer.
Simply pull battery cover down to insert
batteries into compartment. Close battery
compartment by pressing closed until you
hear a “click”.

Requires 1 AA battery

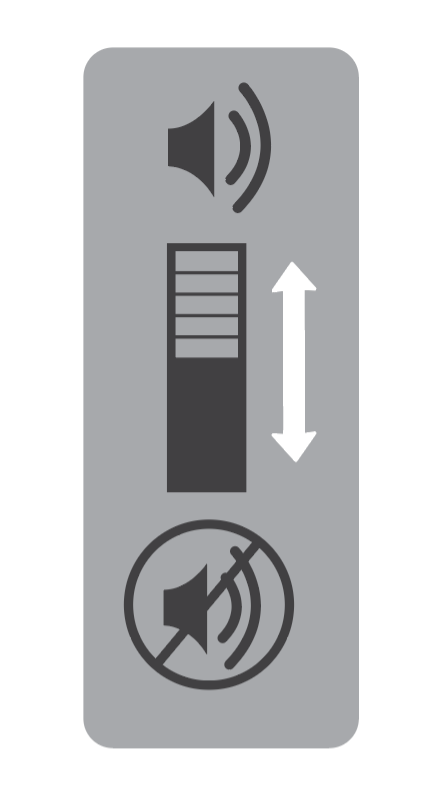
CHOOSE YOUR SOUND PREFERENCE

The timer itself is quiet—no distracting ticking sound—but you can choose whether or not to have an audible alert sound when time is complete. Simply use the on/off switch on the back of the timer to control audio alerts.

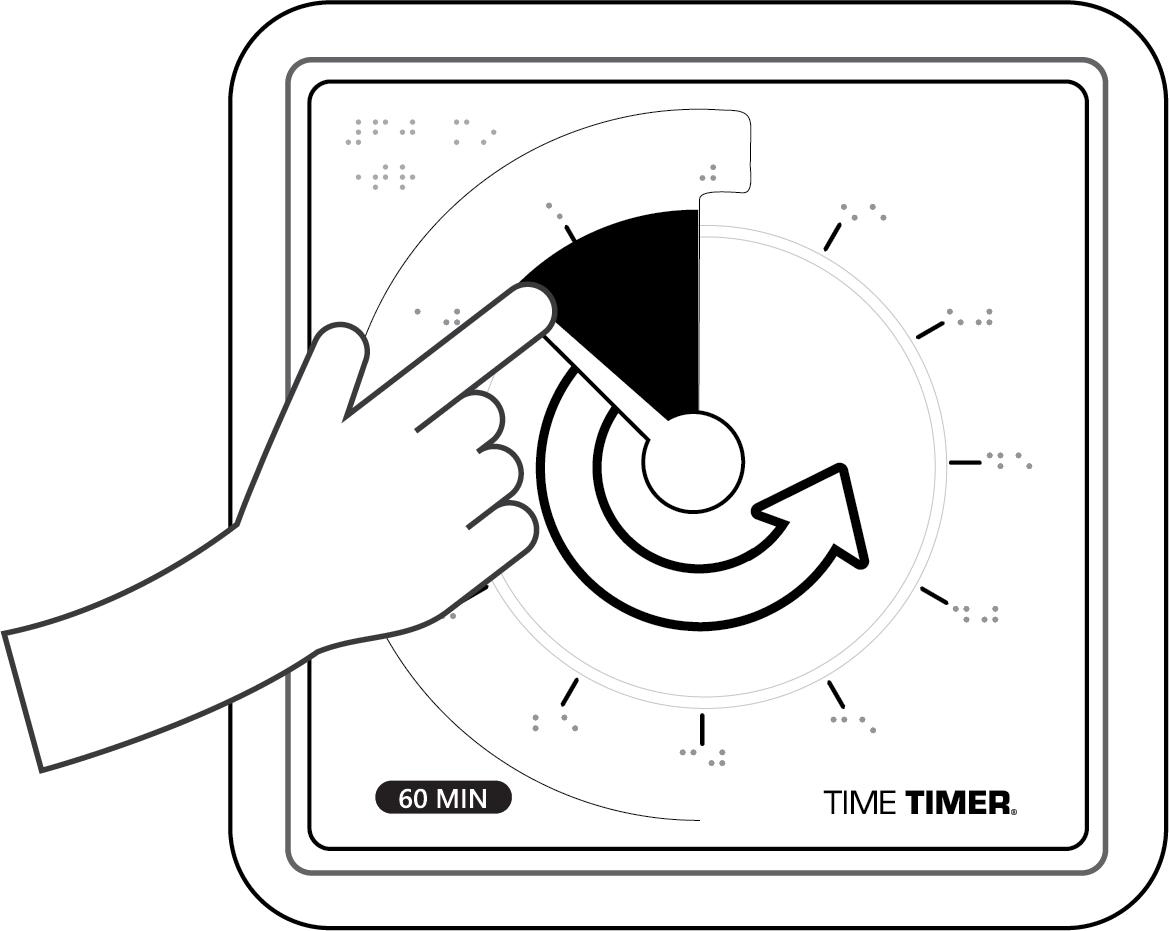
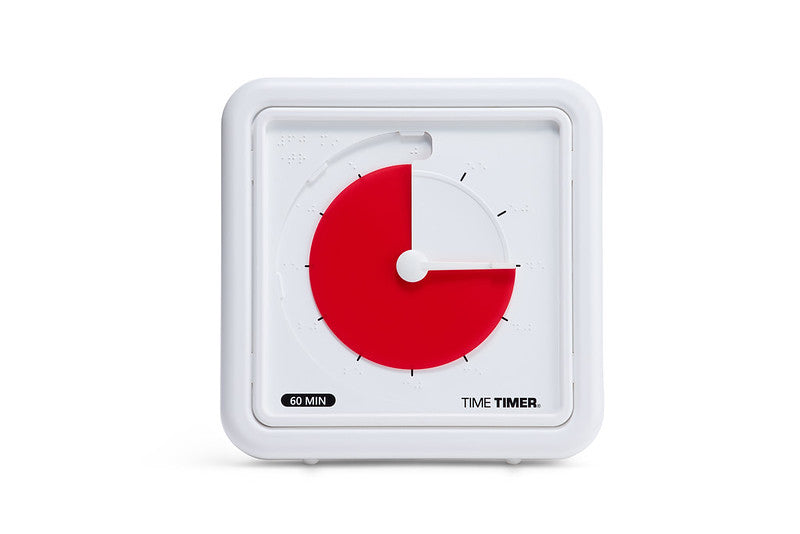
ORIENT AND SET YOUR TIMER

Locate the foldable feet on the back bottom portion of the timer, or the protruding nubs on the bottom edge of the timer - this is the bottom and should be closest to the user or table surface. Use the tactile set bar on the disk and turn counter-clockwise until you reach your chosen amount of time. Immediately, your new timer will begin to countdown, the high contrast disk with tactile set bar and raised braille numbers will reveal the time left.

The Disk Is Out Of Place

Sometimes the disk on your Time Timer®BRAILLE can come out of its place. If this occurs,  watch the video and follow the steps below: 

Watch the video below for a tutorial. Gently press down on the edge of the disk while moving it backwards. This will reinsert the disk under the edge of the face.

If you're still having issues with your timer, please contact us at support@timetimer-europe.com

Time Timer Original 8" and 12" video tutorial:

The Disk Stopped Moving

If the disk on your Time Timer® BRAILLE stops moving, please try the following:

  1. First, make sure you timer has a fresh battery if you have not replaced it recently. Install a new AA battery with the negative end (the flat side) inserted first.
  2. Next, rotate the disk counter-clockwise from 0 to 60 and keep rotating it around. This will clear any dust or debris that might have become trapped under the disk.
  3. Ensure the face is under the 3 placement holders (located in top left section of the inside face) to prevent buckles from stopping the disk.
  4. Now, rotate the disk counterclockwise. Lift the clear plastic button over the 0/60 point and keep rotating counterclockwise until the disk is all the way back to 0.

The video below illustrates Point 2 and 3 in action.